
A dusty stack of hardbacks doesn’t have to gather cobwebs on the shelf. With a few snips and folds, old book crafts transform retired novels into keepsakes that feel fresh yet nostalgic.
This guide unpacks creative book upcycling techniques like page-rolled wreaths, folded-spine sculptures, and hidden-compartment boxes recommended by crafters who specialize in book paper projects.
Using simple tools such as a craft knife, bone folder, and quick-dry glue, repurposed book art becomes approachable for beginners and seasoned makers alike. Gather ideas for statement lamps, tabletop planters, and hanging mobiles so DIY book décor feels as natural as turning a page.
The Appeal of Upcycling: Breathing New Life into Worn Pages
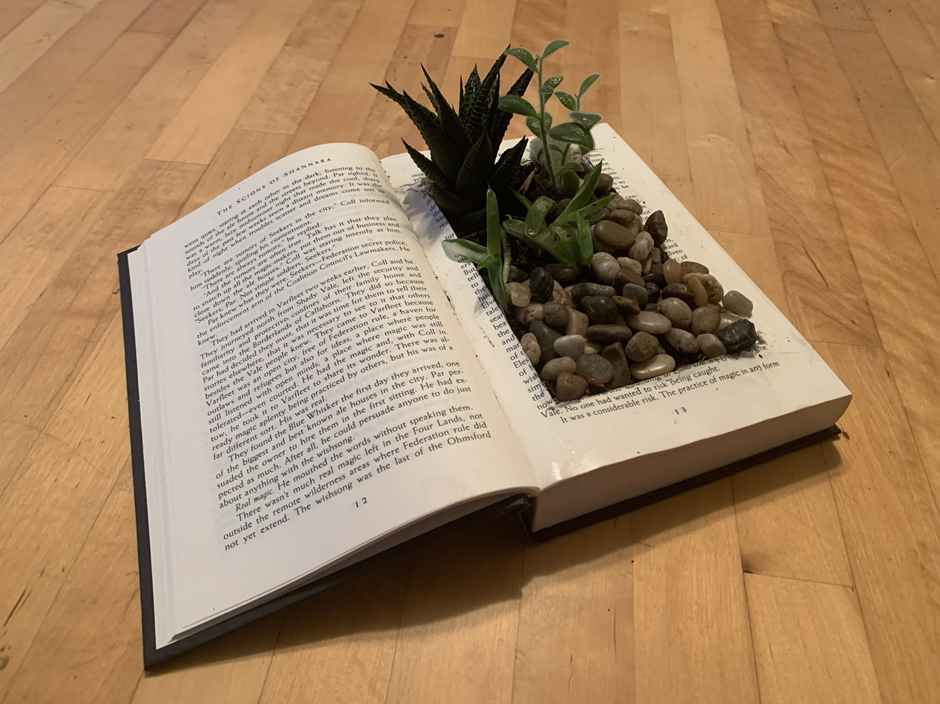
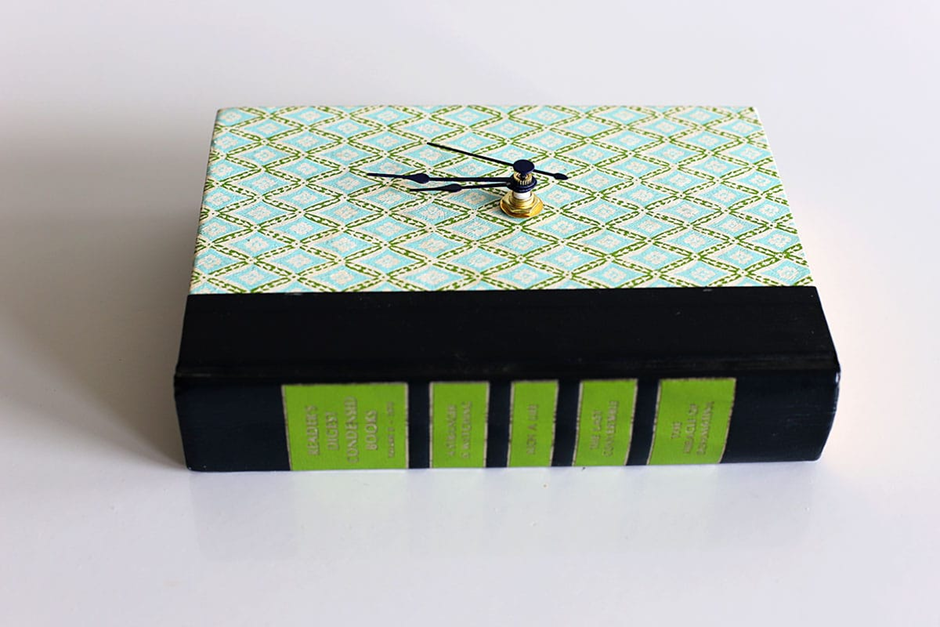
Pulling a dog-eared novel off the shelf feels like rescuing a slice of history. Upcycling old books keeps those worn pages out of landfills while turning them into planters, clocks, or sculpted wreaths that still whisper their original stories. These sustainable book crafts extend the life of paper already milled and dyed, trimming the energy and water costs tied to fresh pulp production.
Lovers of nostalgia also appreciate vintage book projects for their faded covers and classic fonts, adding instant character to modern rooms. Need inspiration? Try shadowboxes packed with creative repurposing ideas like folded-page art.
Essential Supplies and Materials for Transformative Projects
Transforming an old novel into fresh art gets simple once the workspace holds essential book craft supplies. Keep a self-healing mat, sharp craft knife, steel ruler, and bone folder for crisp trims and folds. Most of which can be found in this convenient DIY Hobby Kit.
Waxed linen thread, needles, acid-free board, and cotton tape handle sturdy bindings. Longevity rests on archival-safe adhesives like pH-neutral PVA that dry clear and stay flexible. Finish the crafting tools list with micro scissors, decorative punches, sanding blocks, plus embellishments such as ribbons, vintage maps, and pressed flowers.
These materials for DIY book projects keep each upcycle bright, flat, and sturdy for years.
Simple DIY Projects: Turning Old Books into Unique Home Décor
Shelved novels can graduate from clutter to character pieces. Press favorite covers into frames for quick DIY book decor wall art, a trick lifted straight from weekend thrift hauls. Hollow a hardback, line it with fabric scraps, and the secret compartment earns instant praise among home decor crafts.
For something bolder, glue matched spines into a deep frame and build a shadow box that stages tiny keepsakes, one of the easiest book upcycling ideas listed by makers online.

Folding page rosettes or stacking titles with twine round out beginner book projects that need only scissors, glue, and a free afternoon.
Author’s Note: Check out our post on Unique Repurposed Metal Art or even more unique DIY home decor project ideas!
Creative Techniques for Crafting Stunning Book Art
Old novels collecting dust can morph into gallery pieces with a few creative crafting methods. Begin by carving negative-space shapes into thick hardbacks, then lock the form with clear glue so the new silhouette holds. For book folding art, measure pages, mark points, and crease each leaf twice to build letters or simple icons that pop out.
Next, add texture by embossing old books with a heated brass stamp or a scored board for blind deboss effects. Finish with sandpaper and tea stain to distress edges, giving 3D book crafts a warm vintage patina.
Customizing Your Designs: Adding a Personal Touch

Sticky notes, tiny sketches, and clipped ticket stubs turn an upcycled novel into a personalized book crafts showcase. Pick a favorite passage, write it on vellum, then tuck it beside pressed flowers for instant handmade book decor. Swap plain pages for photo pockets to house souvenirs.
That tweak keeps the spine intact while giving each leaf purpose. For painters, light gesso preps paper so acrylic doodles won’t bleed, perfect for unique book art margins. Finish with a stamped monogram or wax seal on the cover to brand the piece among other custom DIY projects.
Overcoming Common Challenges in Book Crafting

Snagged a brittle page during your latest upcycle run? Slip wax or silicone release paper beneath it, brush on neutral-pH PVA, then lay a strip of archival Japanese tissue across the tear. The barrier keeps glue off neighboring leaves and the tissue adds hidden strength, perfect for fragile book projects.
Loose spine? Paint the same adhesive along the text block, press everything square between boards, and clamp overnight for a clean, sturdy bind.
Worried about glue spots? Blend a pinch of methyl cellulose into the PVA for slower soak-in and wipe excess with a barely damp cotton swab. These field-tested book crafting tips help you confidently solve craft challenges so that your creations remain page-turn-ready for years.
Blending Vintage Flair with Modern Trends in Art
Vintage hardcovers bring history while fresh palettes keep things current. Stack muted linen-bound volumes, then slip one bold-hued cover on top to anchor the vintage book design palette. Pull that accent shade into painted page collages or acrylic-brushed spines for modern book art flair.
Keep layouts crisp: neutral backdrops, plenty of white space, and one graphic pattern, think thin stripes or a small checker, to honor minimalism while mixing old and new crafts. Finish with brass clips or clear acrylic stands so the books read like sculpture, tying your shelf or side table into a cohesive upcycled home décor.
Conclusion: Embracing the Art of Old Book Crafts
Pull a forgotten novel from the attic, trim the pages into delicate petals, and suddenly it’s a keepsake lamp glowing on the desk. That quick spark captures the heart of old book upcycling, turning dusty volumes into conversation pieces while keeping materials out of landfills.
Ideas blossom endlessly, from page-pressed coasters to story-wrapped planters, each one adding to a personal gallery of creative recycling ideas. These projects double as DIY vintage crafts, marrying nostalgia with handmade flair and fitting perfectly inside the wider family of eco-friendly art projects.
Transform a stack of old pages into wall art today, then show off your finished piece in the comments below!

