Planning a tile makeover? Doing the work yourself saves money, but you need a solid plan. We’ve put together a list of what you’ll need, plus ways to fix slips like wobbly tiles or bad grout. See how to pick the best colors for your room and keep them looking new with easy habits. Find out more inside this guide!
DIY Tile Projects for a Quick Home Upgrade
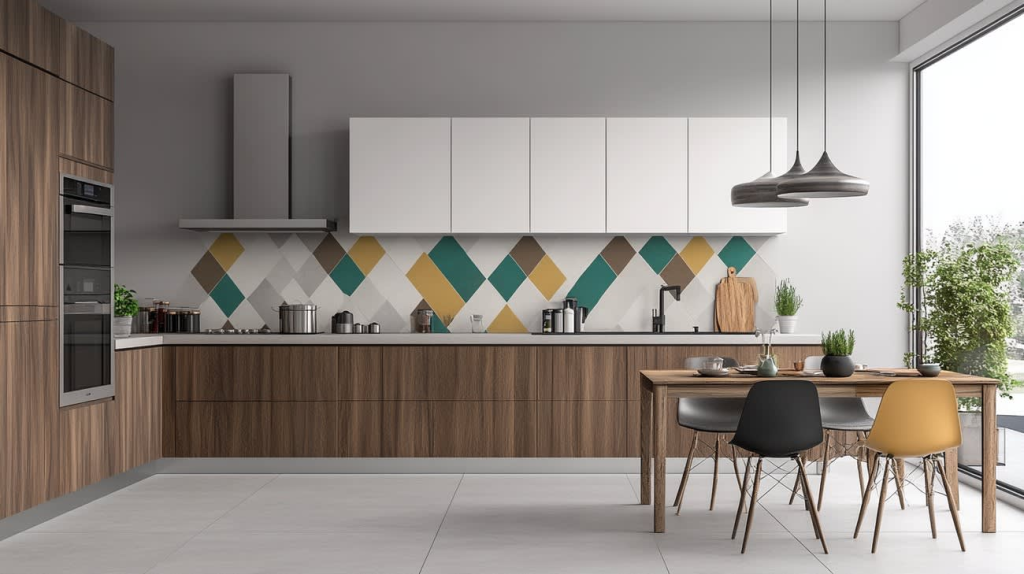
If you’re interested in upgrading your home, then doing it yourself is a great way to reduce cost. A quick DIY tile project allows you to give your kitchen a brand new look without having to spend so much money.
You can go for a simple peel-and-stick or ceramic tiles for your home. These are great options because they help to save cost. For your tile makeover, it is advisable to choose a neutral color. This lasts long and is very cost-effective. Good materials and a bit of patience are all you need to turn a boring wall into a center of attraction.
Planning Your Tile Project Vision
Having a clear picture of your desired result while planning your home renovation will make each subsequent step easier. This will also give you an idea of how much you will need for the whole process. One of the best ways to prevent supply shortages is to find out the square footage of the entire room beforehand.
If you are confused about which layout to choose between a classic grid or a funky diagonal pattern, you can browse through various DIY tiling layout ideas to help you determine which one fits the vibe best. Keep in mind that having a tile design plan is very important to the success of your project.
Selecting the Right Tools and Materials
Having the right tools would make your tile project a lot easier. That is why it is essential to have a detailed tiling materials checklist for all your DIY supplies. This would act as a guide to ensure that nothing is missing, and your workflow isn’t interrupted.
Different surfaces require specific types of tile adhesive and grout to bond correctly. If you get the right match, the end result would be able to resist wear much longer. The best way to achieve straight lines and perfect gaps, and give your tiles that high-end look is to get a specialized installation tool.
Better materials would lead to a more durable surface that handles daily foot traffic or water splashes. Taking the time to pair the right products with the specific project type guarantees a beautiful and lasting home transformation.
Choosing the Perfect Tile for Your Space
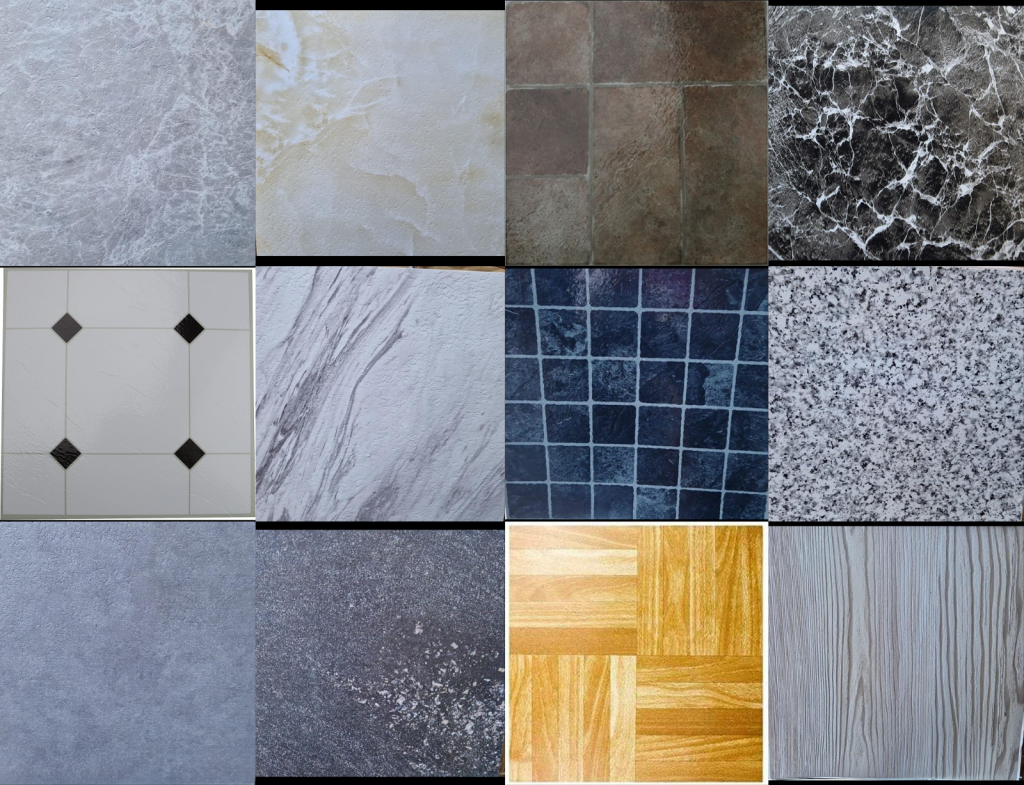
Picking out a new floor or backsplash can feel a lot like picking a new outfit that must last for decades. Successfully choosing the right tile starts with considering the light in your room. Using a darker color can make a large living area feel cozy, but it may make a small pantry feel cramped.
There are many creative tile design ideas such as using herringbone patterns or mixing textures that can turn your plain walls into a centerpiece. Most times it can be difficult to pick between porcelain and ceramic tiles. It really just depends on the usage. Also, porcelain is more water-resistant than most ceramic tiles.
Preparing Surfaces Before Installation
There are a few things to note before you start the tiling process. First, you need to prepare the walls by ensuring that the area to be tiled is dry and solid. Second, use a degreaser to scrub away any greasy spots on your kitchen floor. Failing to do so can ruin the floor after you are done with the tiling process.
Third, you have to level the floor, and a smart way to do this is to spread a self-leveling compound. And finally, applying a moisture barrier will help the adhesive bond well while protecting the structure. Every minute you spend on tile installation preparation pays off when the rows stay straight.
Step-by-Step Tile Installation Process
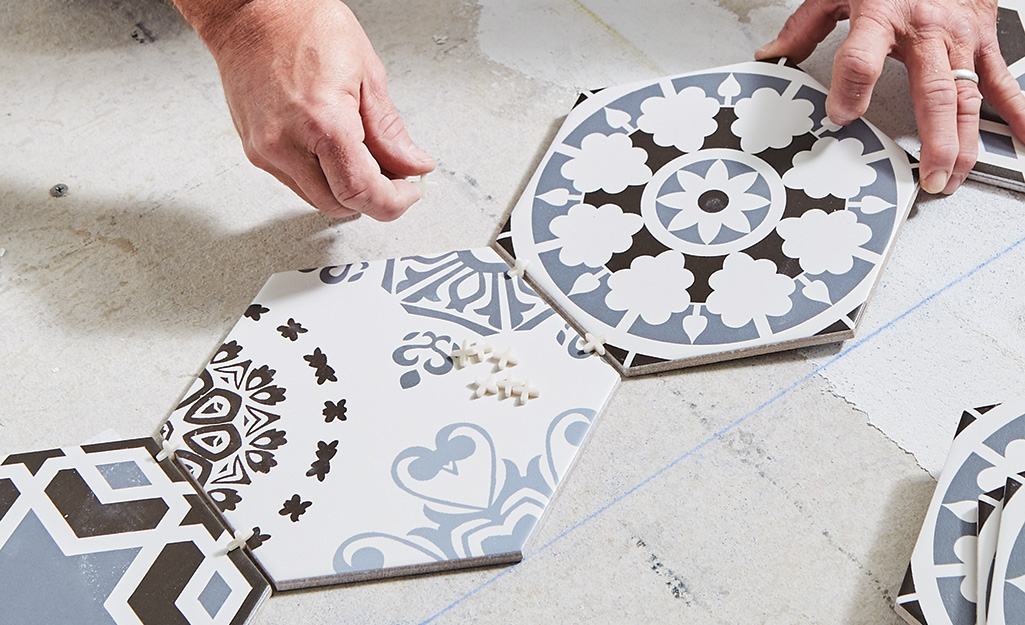
The key to transforming your kitchen is having a solid plan and a tape measure. Always measure the area before you begin. If you check out different tile installation guides, you’ll see that a dry layout is usually necessary for proper installation.
The best way to create the required suction bond is to apply the thin-set with a notched trowel. You can make use of plastic spacers to place each piece. This will help to keep the lines straight and professional. A whole day is usually required for the adhesive to cure properly. Once that is done, grout the tile properly to fill out all of those small spaces.
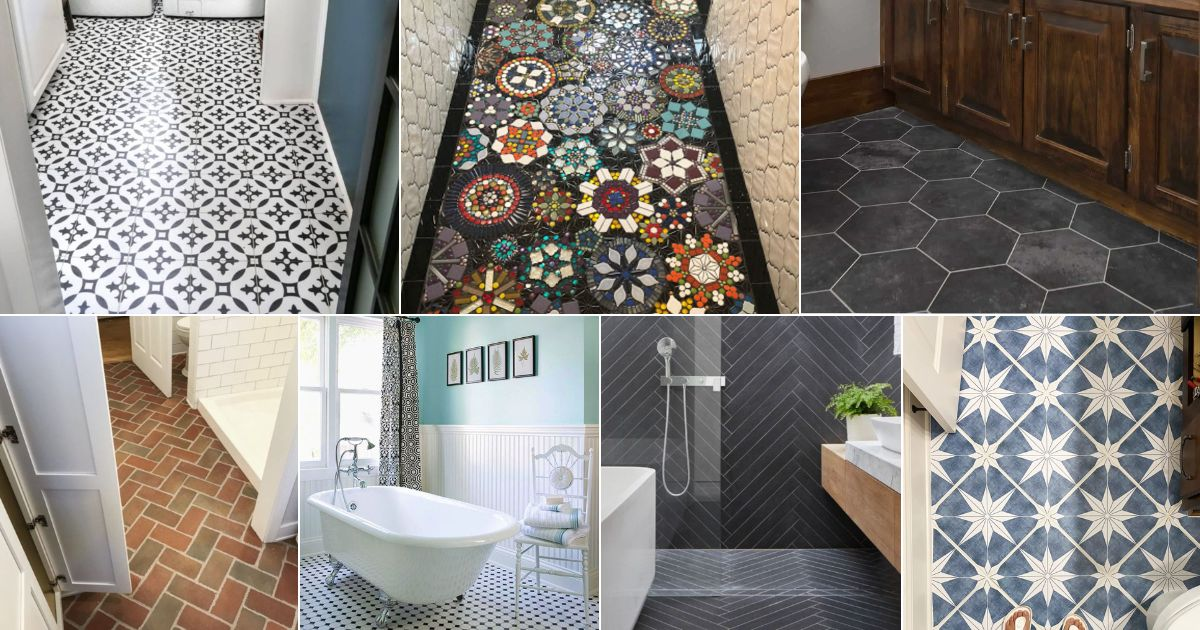
Creative Design Ideas for Unique Tile Patterns
Boring white squares are a thing of the past, as there are so many creative tile patterns available. Integrating a herringbone tile design provides a high-end architectural feel that works in both rustic and modern homes. It helps to create a rhythmic visual effect that keeps the space from looking flat or boring.
This would be a great choice to make when considering what design to use for your home. Small and detailed mosaic tile ideas are perfect for adding pops of detail in unexpected places, such as a coffee station or a bathroom shelf. Using these unique tile layouts makes a budget-friendly renovation look like a professional designer was involved.
Troubleshooting Common DIY Tile Issues
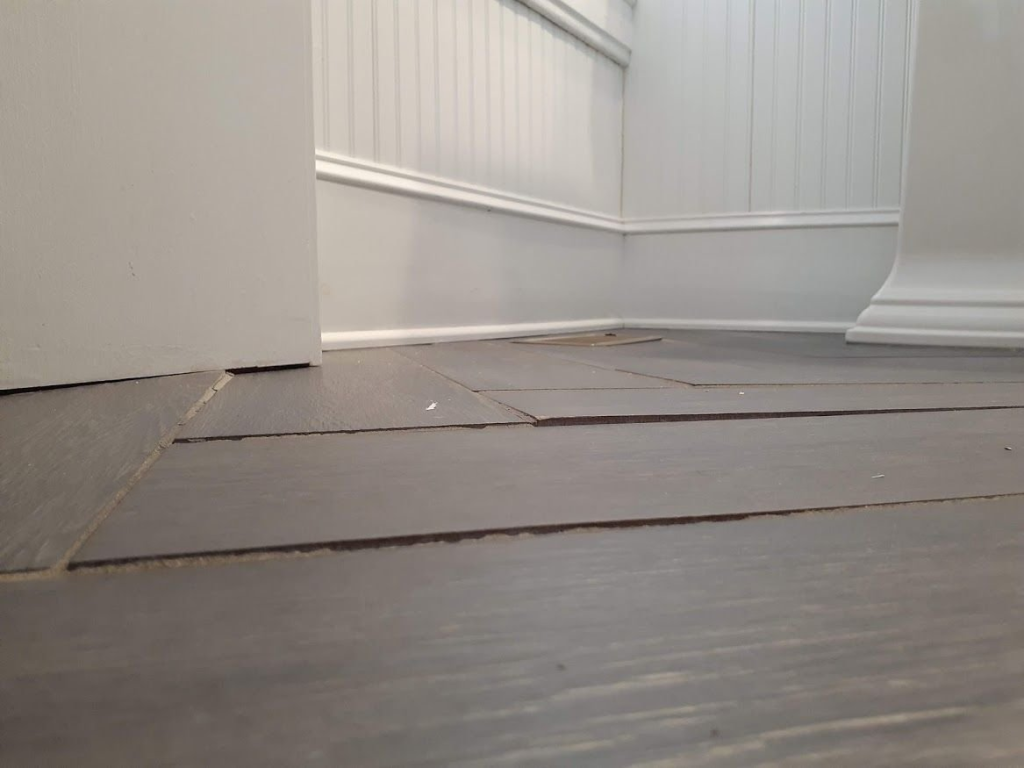
Tiling a bathroom or kitchen floor brings immediate satisfaction until a few pieces end up slightly higher than the rest. If you notice that some of your tiles are uneven, you can quickly fix it by using a rubber mallet to gently tap pieces into place while the adhesive is still wet.
A common mistake homeowners make is not preparing the surface properly for tiling. If you observe that the tile is not sticking, it probably means the trowel marks were too thin or it could be that the subfloor had oily spots.
Simply cleaning the area can help to correct this. The most effective solution to a grout problem is to check for moisture behind the wall. If left unattended, it could cause crumbling. After the wall has dried, immediately use a sealer to preserve the fresh look.
Maintenance and Long-Term Care for Tiled Areas
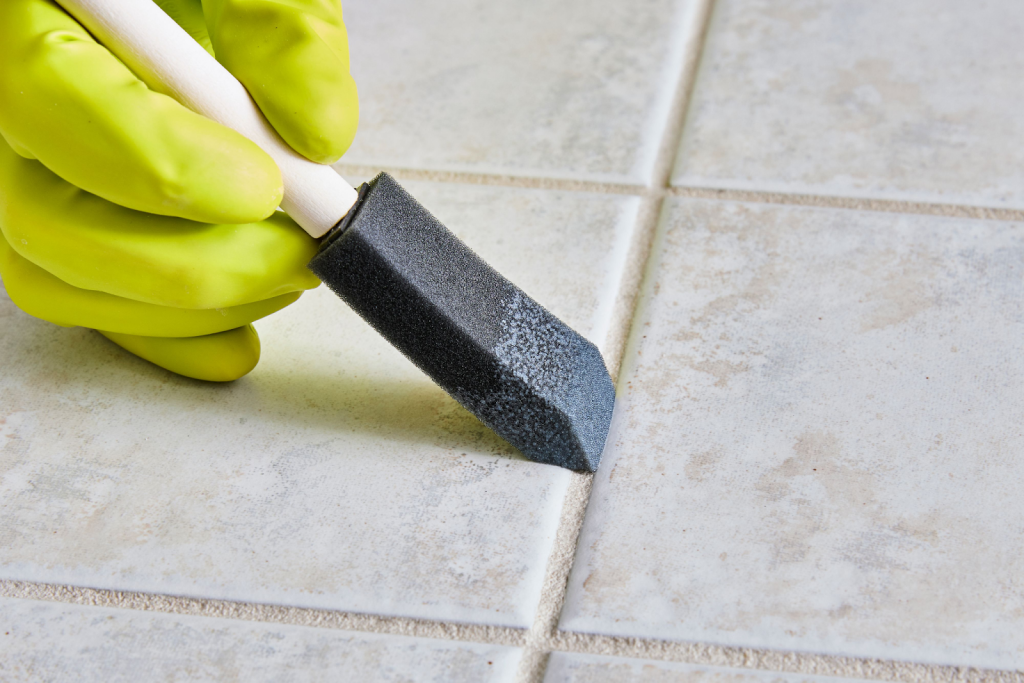
The easiest way to prevent dust buildup in your house is to always dust your tile floors with a mop. You need to know how to clean your tile floors without using any harsh chemicals. Due to its porous nature, regular grout sealing is necessary to prevent liquids from entering the tiles.
Keeping up with your tile maintenance helps to keep the entire room looking sharp and polished. You would discover in the long run that long-term tile care is mostly about small, frequent habits rather than huge weekend projects.
Budget-Friendly Tips for DIY Tiling Success
You need a bit of strategy and some patience to achieve a high-end look while working with a tight budget. The best way to do this is to check the clearance sections in stores so that you can get tools and materials at discounted prices. You can also borrow from a friend or neighbor, which helps to save money on tiling equipment.
Many cheap tile makeover ideas rely on using every scrap of material effectively to cover the surface. Making small changes, such as new grout colors or unique patterns leads to affordable home upgrades that completely change the feel of a room.
Conclusion: Creating a Stylish Home Upgrade with DIY Tile Projects
Every DIY tile home upgrade needs a bit of artistic flair to really stand out from standard contractor work. You can brighten up your walls by mixing different colors or textures. It is also important that you use the right adhesive to make your work more durable.
Your stylish tile project will only remain beautiful if the grout receives a good scrub every now and then. Looking at different tile renovation ideas allows you to achieve a custom look that reflects your personal taste.
Choose a favorite tile pattern today and share which room is getting a makeover in the comments below!

