Staring at a blank wall and a slim wallet doesn’t mean settling for bland art. Building a budget gallery wall turns leftover frames, thrift-store finds, and free digital prints into standout statements.
This guide breaks down where to hunt bargains, how to map a layout on the floor first, and why one paint color can unify mismatched frames. We will share plenty of gallery wall inspiration that keeps to the spirit of affordable home decor without looking cheap.
The Magic of Budget-Friendly Gallery Walls
Mix thrift-store frames, printable photos, and flea-market finds, and a blank wall shifts from silent drywall to your own rotating gallery. This pocket-friendly trick stacks stories instead of receipts, proving budget-friendly decor can still feel curated.
Because each item moves as easily as a push-pin, layouts flex with seasons or moods, giving endless creative wall ideas that grow with the collection. Frames under a hundred dollars cradle postcards, sketches, or family snapshots, turning everyday memories into affordable wall art that feels tailored and fresh.
Planning Your Space and Gallery Wall Budget
Measure first, spend wisely, and the wall will thank you. Map out the display area with painter’s tape silhouettes. The tape box shows how frames breathe together and prevents extra nail holes.
Next, list every frame, hook, and print, then draft a quick cost outline so the gallery wall planning stays honest. Thinking ahead keeps the project inside budgeting limits. Keep receipts in a spreadsheet and flag overspends, using these affordable decorating tips to finish strong.
Author’s Note: Check out our post on Low-cost Picture Frame Ideas to help you create stylish gallery walls!
Finding Affordable Inspirations for Your Wall

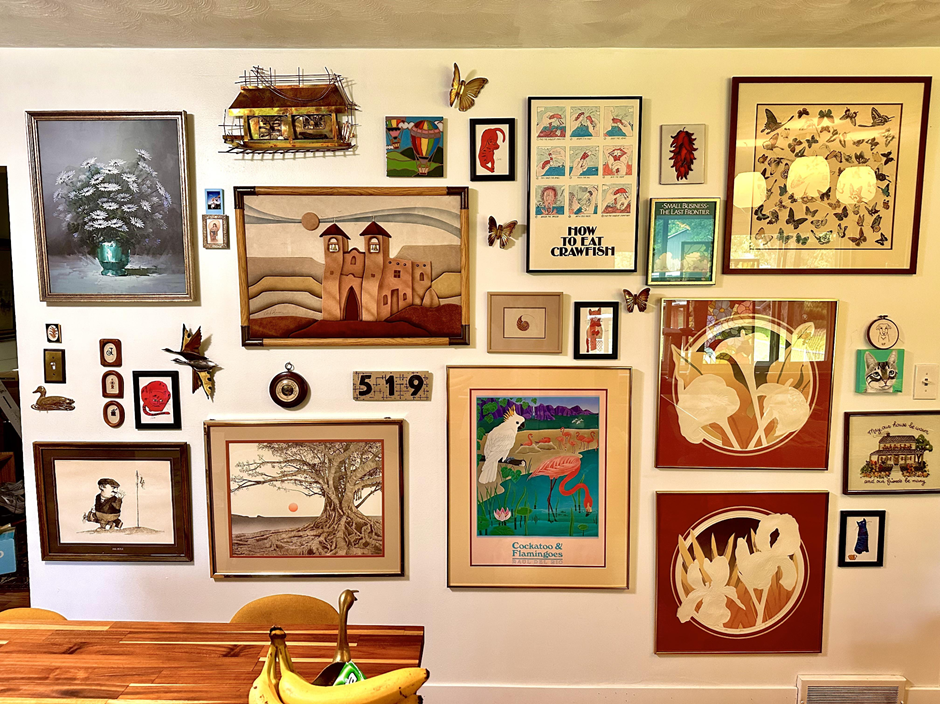
Weekends at local flea markets often turn up overlooked sketches, vintage frames, even woven baskets that become quick inexpensive art when grouped on a ledge. Scroll neighborhood buy-and-sell apps during coffee breaks. Used frames there rarely top a few dollars, giving instant gallery wall inspiration without touching the savings account.
For extra personality, press wallpaper scraps or handwritten recipes into those frames. Thrift stores and yard sales remain unbeatable budget decorating sources, and a dab of spray paint ties everything together.
DIY Artwork: Personalize Your Gallery Wall
Blank frames don’t have to stay empty. Snag a thrift-shop frame and slide in a public-domain print or a pressed leaf for DIY wall art that costs less than takeout. Swapping fabric scraps or travel photos instantly turns the arrangement into homemade gallery pieces that tell your story, not the store’s.
Working in small bursts, like a quick coat of spray paint or a simple mat cut, keeps setup easy while stretching the décor budget. Little by little these affordable art projects fill the wall with one-of-a-kind character.
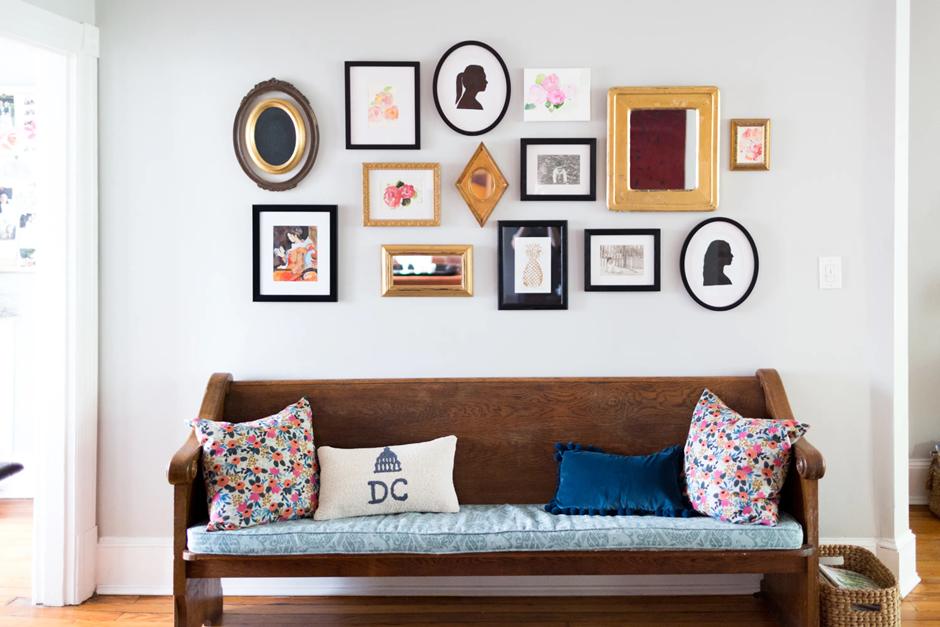
Repurposing Thrifted Finds and Flea Market Gems
Nothing beats pulling an ornate frame from the bargain bin and turning it into thrift store art. Swap its faded print for a favorite photo or bold fabric, then refresh the frame with spray paint or rub-on gilding.
For texture, layer wicker trays or vintage plates found on flea market decorating trips. Hang them beside canvases to loosen the grid. Old wooden rulers, shutters, even flat baskets become repurposed wall décor after a quick coat of matte paint and sturdy picture hooks.
Smart and Affordable Framing Techniques
A thrift-store frame plus a weekend of paint beats premium showroom prices every time. Spruce up thrift finds with two coats of satin spray, swap out glass for acrylic, and layer craft paper as a modern mat.
Mixing budget framing ideas like clipped postcards alongside small canvases keeps the wall relaxed yet cohesive. Upcycle pallet wood into DIY frames for odd-sized art, staining to match nearby furniture. Finish with lightweight, inexpensive wall frames from yard sales to balance heavier pieces.
Mixing Personal Photos with Affordable Art
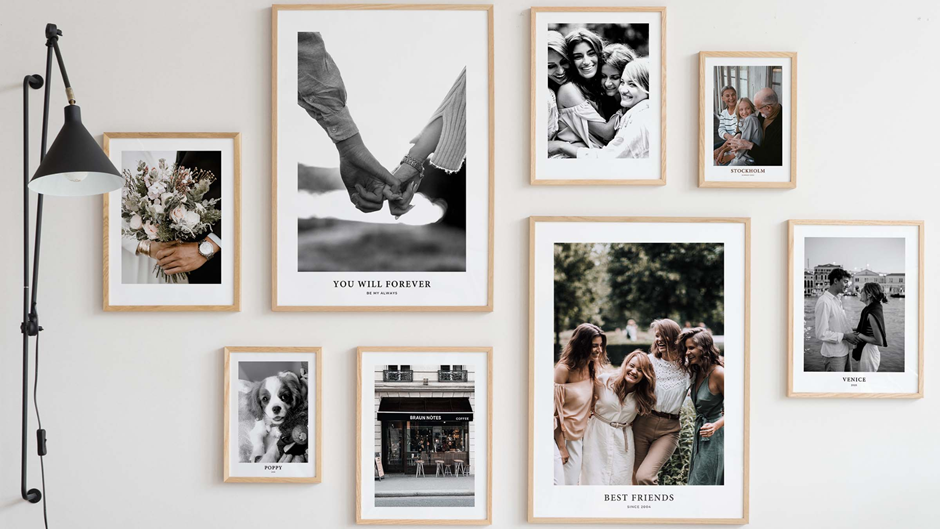
Turn living room memories into a personal photo gallery by pairing favorite snapshots with budget prints that share a common color thread. Mixing art and photos works best when frame shapes match and mat colors echo each other, giving everything an instant visual handshake.
Lay pieces on the floor first, shuffle until heights alternate, then leave two inches between frames before committing nails to the wall. Tuck dates or tiny captions on the back of each frame. This quiet touch delivers true gallery wall personalization without spending extra.
Author’s Note: Check out our post on Decluttering Sentimental Photos for quick tips on creating emotional clarity through organizing personal photos!
Creating Visual Impact Through Layout and Design
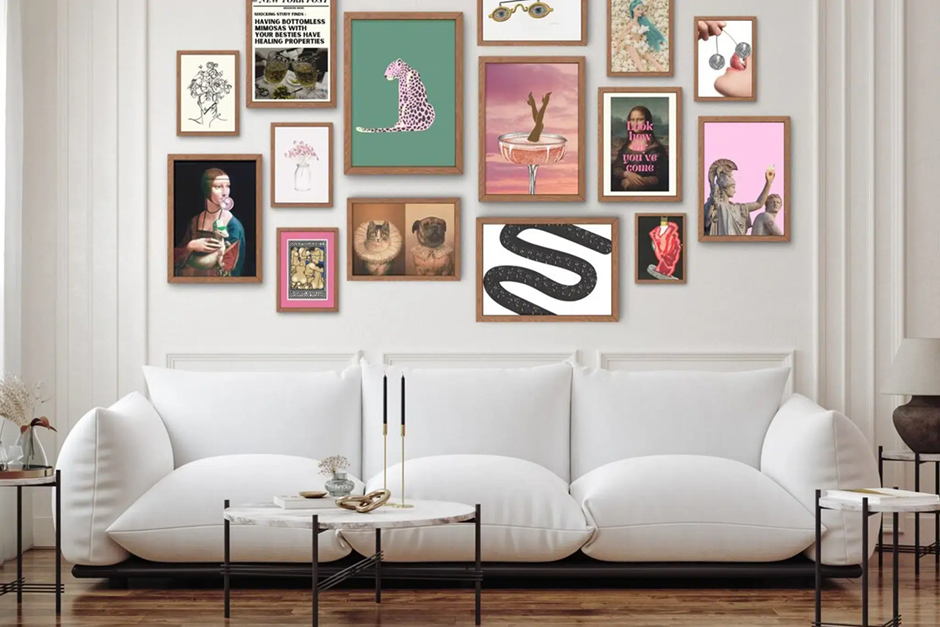
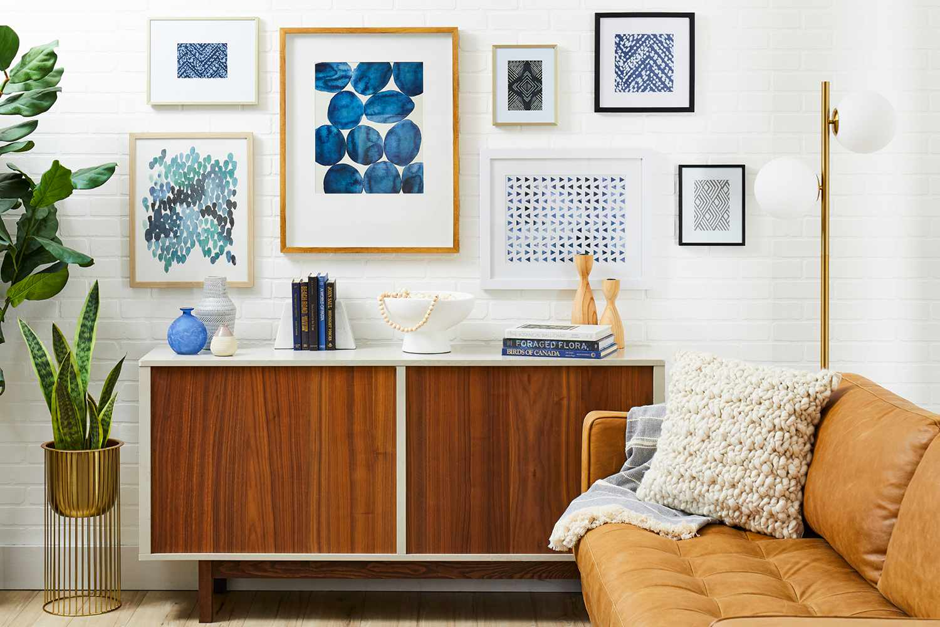
Big pieces pull the eye first. Anchor with one hero, then build balance outward. A symmetrical grid feels tidy, while a looser salon mix adds movement, as long as scale and spacing stay cohesive. Test gallery wall layout ideas on the floor or with paper templates before hanging to lock in placement.
Maintain even gaps and hang around eye level so the whole composition reads as one piece. Use a shared color story or frame finish to make layouts feel unified. Center or slightly off-center anchors guide the flow and create impactful wall designs without extra cost.
Stylish Accessories for a Cohesive Look
Try wall accessories like decorative mirrors to bounce light and make the arrangement feel airier, then keep frames cohesive around them.
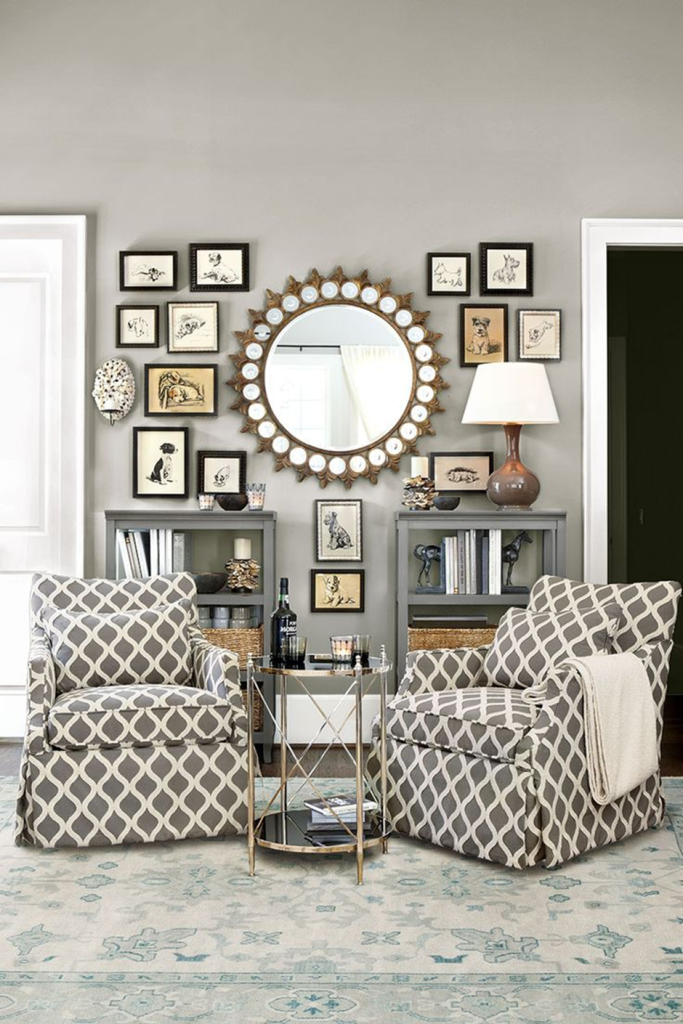
Slim picture ledges or shelves add depth, let pieces overlap slightly, and make seasonal swaps painless. Peel-and-stick wall decals cost little, add pattern or quotes, and can be removed cleanly on painted walls.
This kind of budget-friendly styling edits clutter while giving the eye clear anchors. Focus on balance, repetition, and one accent per shelf for enhancing gallery walls without overwhelming the room.
Overcoming Common Gallery Wall Challenges
Crooked lines and awkward gaps usually mean the layout moved too fast. For gallery wall troubleshooting, map the whole arrangement on the floor, then trace frames on paper, tape the templates to the wall, and adjust until spacing reads clean before any nails go in.
Pick a strong center piece, build outward, and hang around eye level. For common decorating issues like mismatched art, echo a color, mat, or frame tone for cohesion.
Conclusion: Your Budget-Friendly Gallery Wall Awaits
A confident gallery wall comes together with simple, low-cost steps: map the layout with paper templates, mix sizes, and keep centers near eye level for balance. Thrifted frames and roomy mats stretch a budget and make small prints feel intentional, delivering budget decor success without losing style.
These creative home solutions also spare walls from heavy damage when you match hanging hardware to frame size and weight. Let the arrangement tell a personal story and enjoy true gallery wall satisfaction.
Lay out paper templates tonight, hang a few frames at eye level tomorrow, and share your results in the comments below!


1 thought on “Budget Gallery Wall Ideas: Chic Displays for Less – Try This – Tips Ideas Inspiration”