Plastic rods are boring. You can make your own curtain rods to give your room a fresh look. This post breaks down how to select the right materials for heavy drapes, get the measurements spot-on, and add high-end finishes with paint.
DIY Curtain Rods: Stylish Home Fixes
Windows are a very important part of your home and they deserve better than basic plastic rods from a big store. One of the best ways you can add a bit of flair to your interior design project is by creating diy curtain rods stylish home fixes.
There are so many homemade curtain rod ideas you can explore including using natural branches or metallic tubing to create a specific mood. A well-planned custom window rod diy allows for a perfect fit that makes your curtains hang exactly how they should.
When you invest enough time in a curtain rod home upgrade, you’ll be able to bring a distinct personality to your windows.
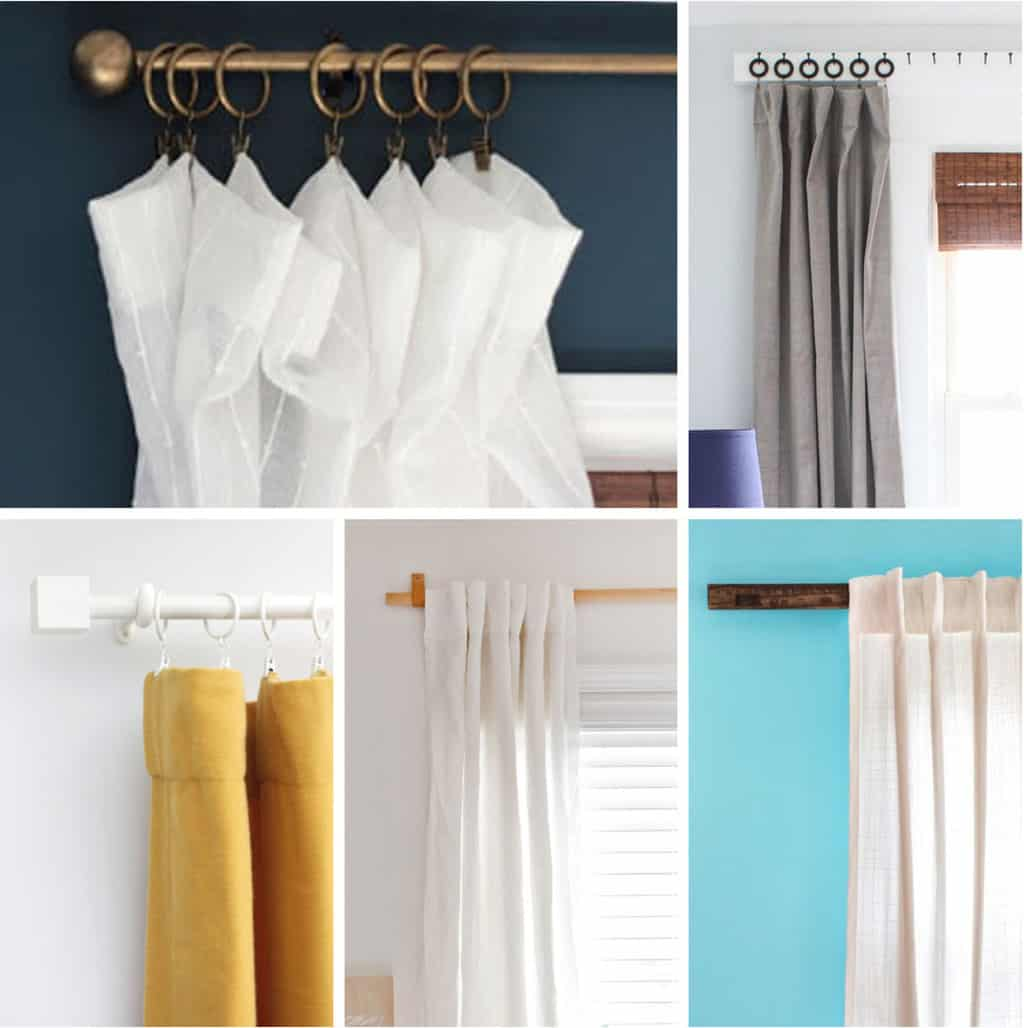
Choose Materials That Match the Look and Function You Want
The materials that you choose for your curtain rod depends on the weight of the fabric and your desired room aesthetic. The debate between wood vs metal curtain rods often comes down to whether a classic or industrial look is better. The best part is that most of the basic diy curtain rod supplies you need are affordable and can easily be found in local shops.
You can make use of durable PVC for light curtains and iron or solid timber for heavier velvet. To make your space feel personal, you can try out custom rod material ideas like using an old wooden ladder rung.
Measure and Plan Carefully for a Perfect Window Fit
For your diy curtain rod project to be successful, you need to have a solid plan in place before the drills even come out. Check the width of the glass and add room for the drapes to stack off to the side. Using a window rod size guide helps you to determine the exact length that is needed to make the space feel tall and airy.
You can measure the projection from the wall to ensure that the fabric clears any trim or handles. Placing the supports correctly is just as vital as the length itself. The spacing of your curtain rod bracket is also very important. There should be a mount every few feet to keep the bar straight.
Build the Curtain Rod Step by Step With a Clean Finish
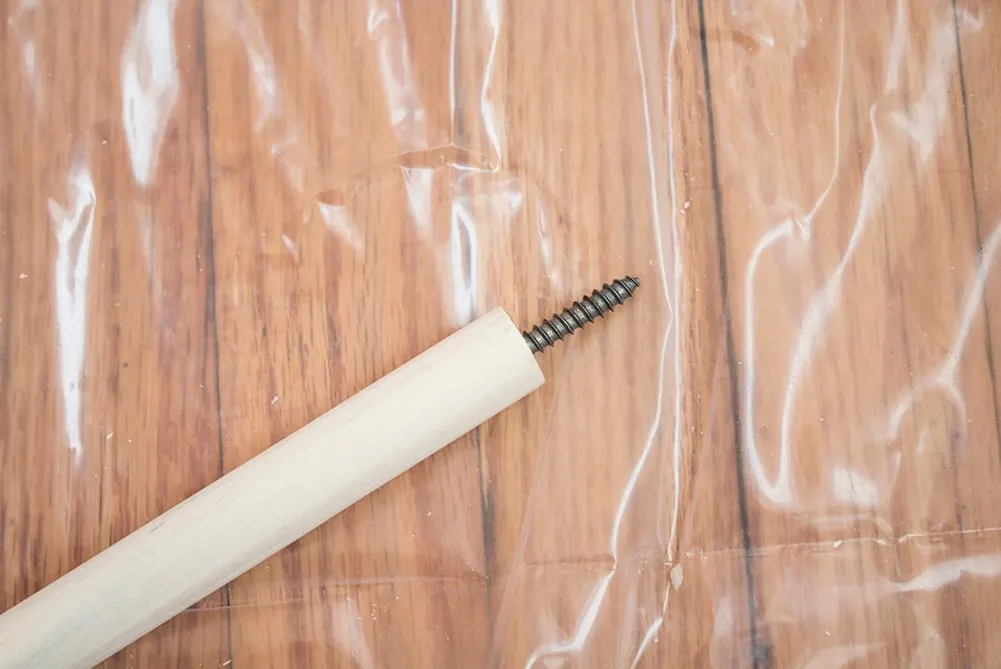
Start by getting a saw to help you trim down the wooden dowel to the exact width of the window. This is the first and a very important step in your curtain rod project. Smooth edges are also vital and you can achieve them by using fine sandpaper.
It is always helpful to have a diy curtain rod tutorial you can follow, so that you avoid common mistakes like uneven finishes or splinters. Once the wood’s ready, attach the end caps with a bit of wood glue. This handmade curtain rod guide focuses on simple techniques that result in a professional appearance.
Always remember to clean the dust away before applying a coat of paint or stain for that high-end store feel.
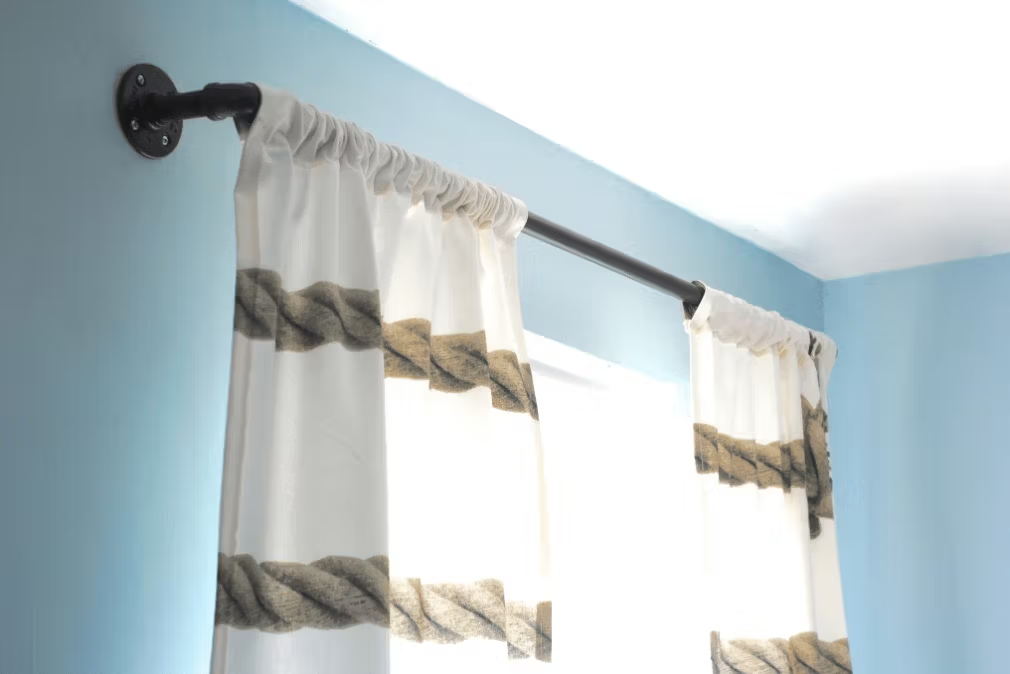
Customize the Rod With Paint, Finishes, and Decorative Details
You can transform plain wooden dowels or metal pipes into high-end decor with just a little bit of effort. Choosing painted diy curtain rods allows for a perfect match with existing wall colors so that the hardware disappears. If your goal is a bold statement, dark blacks or bright colors can make the window a focal point.
These curtain rod customization ideas usually work best when using spray paint for a smooth and even surface. You can make use of high-quality decorative rod finishes like matte black or brushed gold to bring a polished look to the room. Adding unique end caps or matching stylish curtain hardware helps the whole project look expensive.
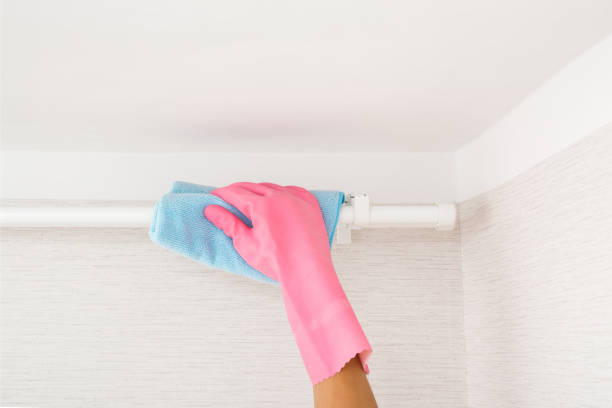
Install the Curtain Rod Securely and Neatly
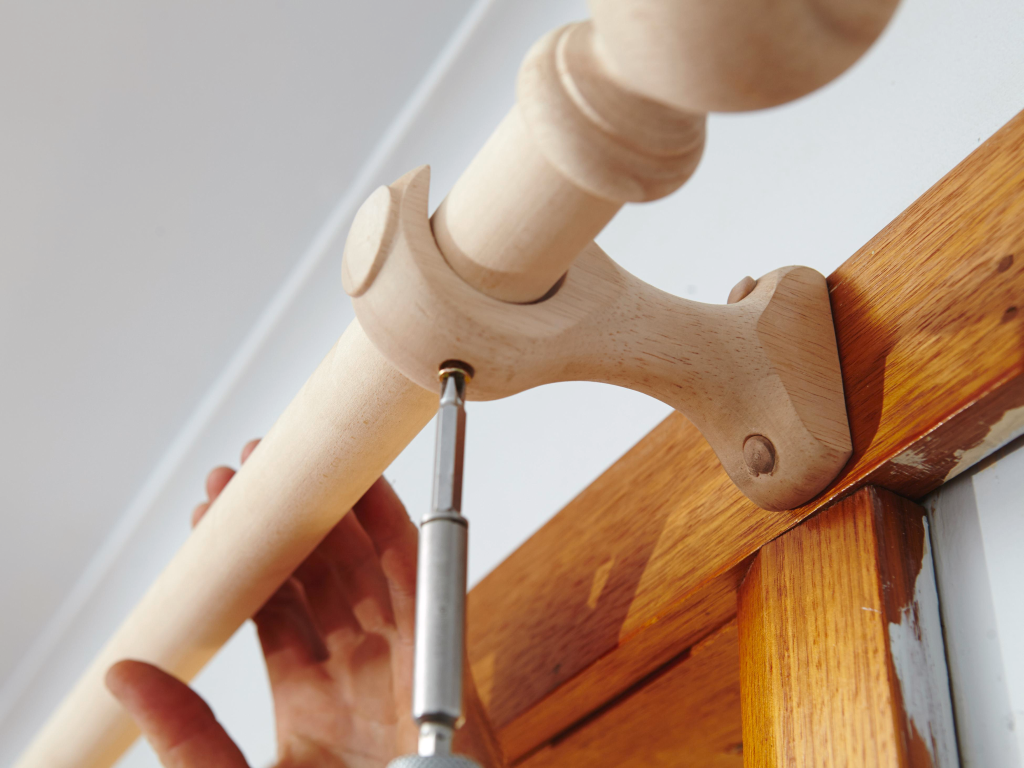
A crooked rod will ruin the look of even the most beautiful window treatments. You should measure slightly outside the window frame to ensure that the brackets sit in the right spot. This precision makes the process of installing diy curtain rod hardware much faster and more accurate. Use a pencil to mark the holes while holding a level against the pole.
Solid wall contact is the goal for a secure curtain rod mounting that lasts for years. These curtain rod installation tips help to prevent common mistakes like using screws that are too short for the weight. Keep in mind that long poles usually need a center support bracket to support heavy curtains.
Fix Common Curtain Rod Problems Without Starting Over
If you have a drooping window display, fixing it doesn’t have to be a major project. Identifying common curtain rod problems early wards off permanent damage to your walls and hardware.
A simple tension wire or a discreet center hook helps to fix sagging curtain rod issues that often plague wider windows. If the screws are pulling out of the drywall, a loose curtain rod bracket fix is as simple as switching to threaded anchors for more grip.
These diy rod repair tips save money and keep the existing style intact. Scuffed or chipped metal also looks new again with a simple touch-up pen or matching paint.
Maintain Your DIY Curtain Rods So They Last Longer
Building unique home decor is a win, but keeping those pieces in top shape requires a bit of effort. You should make it a habit to clean your curtain hardware and keep the industrial looking sharp. Regular curtain rod maintenance also involves checking the wall anchors to make sure they haven’t pulled loose from the drywall.
Following these long lasting curtain rod tips will help save a lot of trouble down the road by catching small issues early. If you have wood rods, then you can polish them occasionally to keep the grain looking rich. When you really take care of your diy curtain rods, the fabric will be able to slide across without any annoying sags or resistance.
Use DIY Curtain Rods to Upgrade Different Room Styles
Standard store bought hardware often feels like an afterthought that lacks personality. Building your own allows for total control over the feel of the space. Dark industrial pipes work well in a kitchen to give it that rugged look. You can find many curtain rod ideas by room that match specific themes like rustic or modern.
For areas in your bedroom or living room that need a softer touch, you can make use of lightweight wood or bamboo to create the diy rods. With these custom rod projects, you can swap out ends for a fresh look whenever you want. It is always best to keep things simple with matte black finishes or copper accents.
Conclusion
Customizing your living space often starts with small changes that have a big impact on the overall atmosphere. Creating custom rods allows you to have complete control over the length and style of the hardware. Using this diy curtain rod guide makes the process of selecting materials and brackets much less stressful.
With time, you’ll see that custom window treatments usually add that rustic charm that store-bought options lack. Remember to always get your measurements right so that your curtains hang exactly where you want them to.
Share which material worked best for your living room windows in the comments below!

