Blank walls often beg for personality, and grabbing fresh art doesn’t have to break the bank. With low-cost picture frames sourced from thrift stores, discount bins, or even scrap wood, any photo or print can step into the spotlight.
This guide shares clever upgrades that double as budget wall decor: spray-painted plastic frames, repurposed window panes, and clipped wire grids, all proven favorites among DIYers.
Each tip focuses on hands-on DIY frame ideas that are quick, affordable, and remarkably versatile, turning photos, postcards, and kids’ drawings into gallery-ready accents while keeping overall style cohesive for truly stylish home decor.
Start With Budget-Friendly Frame Basics
Cereal boxes, shipping cartons, and grocery flyers quickly turn into cheap picture frames once cut to size, glued into layered squares, and covered with craft paper or leftover wallpaper.
Those scraps count as DIY frame materials you already have on hand, letting photos pop without a trip to the art store. Swing by a thrift shop next and rescue wooden frames for pennies, then sand, paint, or wrap them in fabric for truly affordable wall art that matches any room palette.
Finish by stringing twine across the back or adding painted clothespins to create rotating displays of photos and kids’ drawings, creating handmade frame ideas that feel personal.
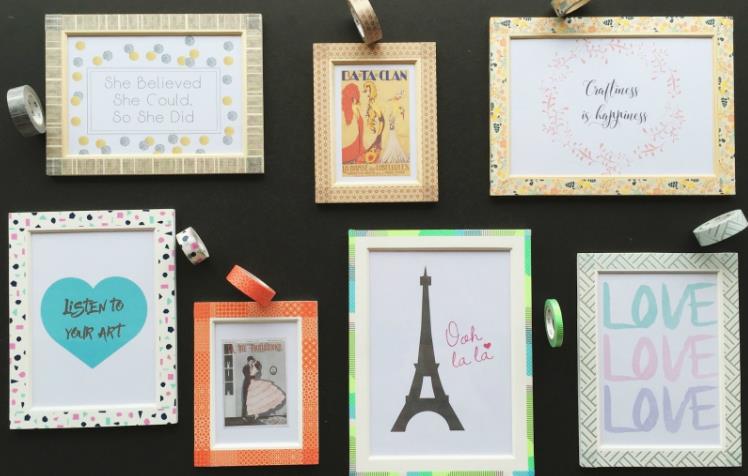
Author’s Note: Check out our post on Budget Gallery Wall Ideas to learn how to organize your picture frames into chic displays for less!
Reuse and Recycle: Turn Trash Into Treasure
Get that cereal box, trim it into a mat, then glue thrift-store twine around the edge to get an instant rustic flair. Old pallets become sturdy borders once ripped into slats, sanded, and nailed together.
Color fans can roll junk-mail strips into beads and hot-glue them around thrifted glass for vibrant recycled frame projects. Each quick build adds personality while keeping scraps out of landfills, delivering budget-friendly upcycled wall decor.
Finish with plant-based varnish to seal surfaces, keeping everything firmly in the eco-friendly DIY camp. Hang the finished pieces as standout repurposed home decor.
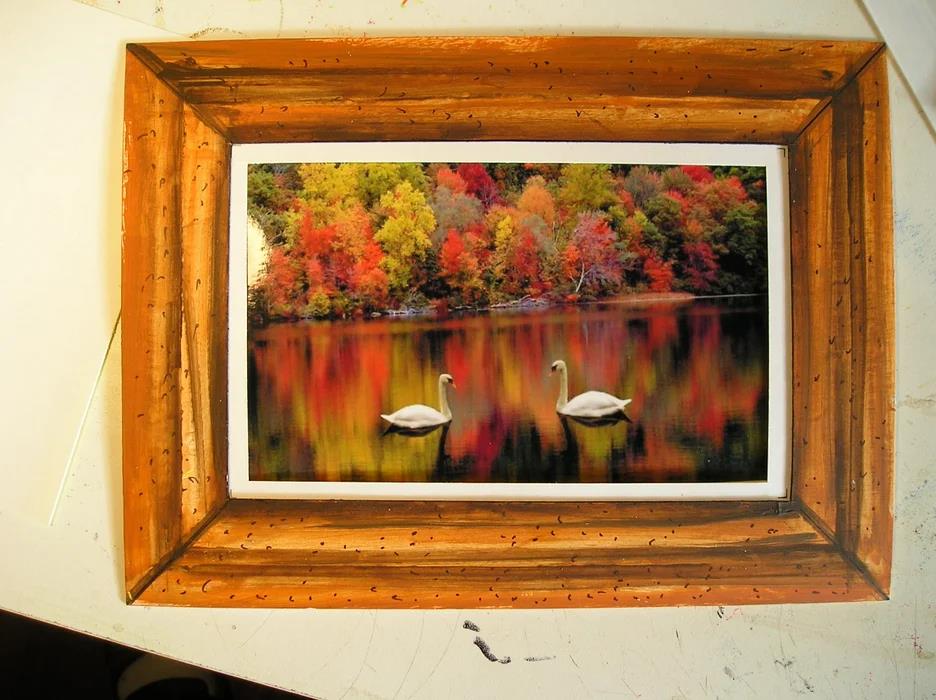
Elevate Old Frames With Easy DIY Upgrades
Need an easy fix for updating old frames? Start by cleaning the thrifted piece and lifting out the glass. A bonding primer plus chalk or acrylic sticks fast. Swap the plain mat with fabric remnants. Spray adhesive holds cotton or velvet tightly.
Bright washi tape stripes snap onto edges for crisp color blocks, and peel right off when tastes change.
Finish with stick-on wood appliqués or a hint of metallic leaf for extra texture. This DIY frame makeover keeps landfills lighter while customizing cheap frames to fit any room vibe.
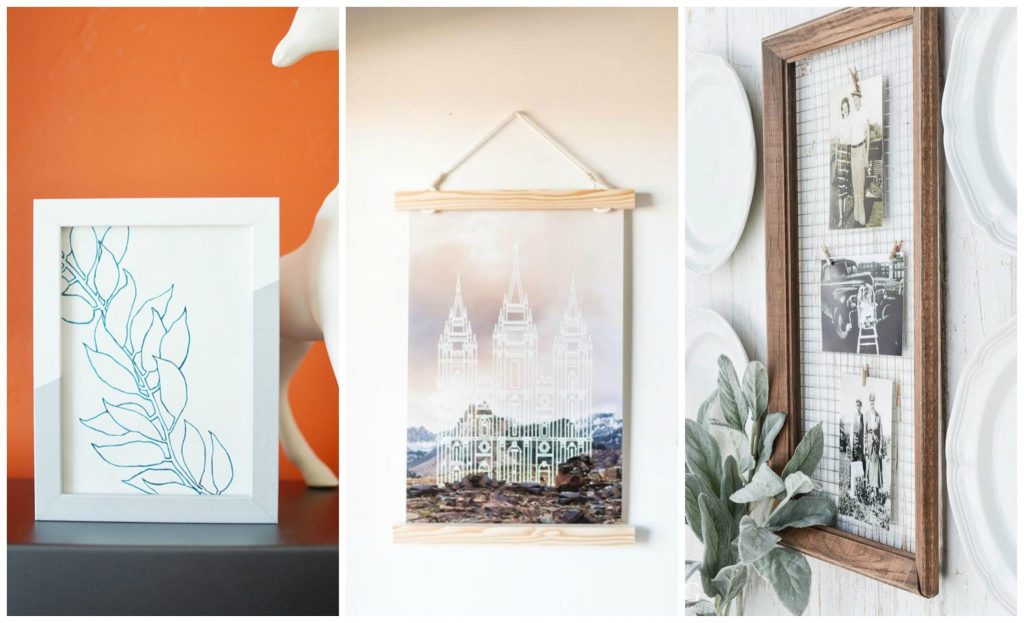
Everyday Objects as Frame Alternatives
Running out of budget-friendly ways to hang photos doesn’t mean buying new frames. Frame alternatives hiding in the desk drawer work just fine. Clipboards already have built-in clamps. Mount three in a row for a tidy clipboard photo display that swaps shots in seconds.
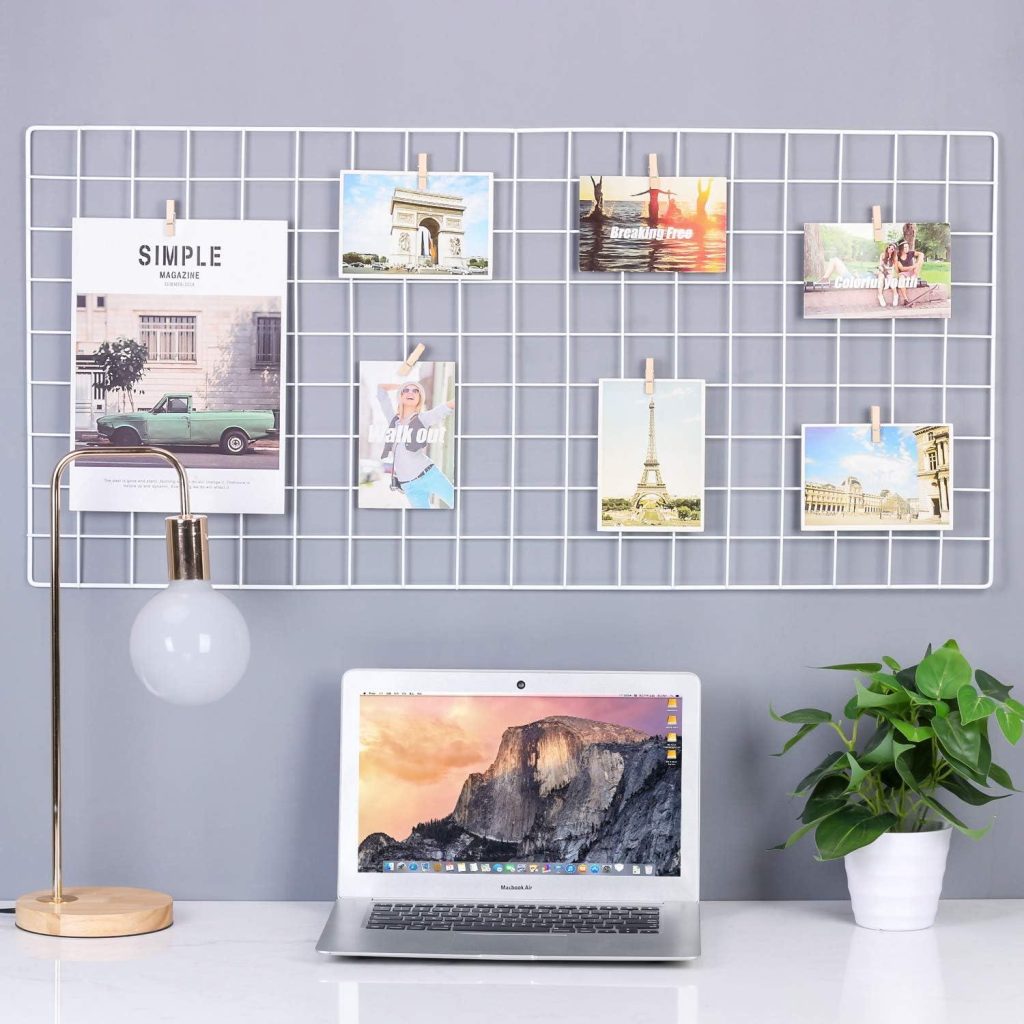
For prints or posters, small binder or bulldog clips double as DIY wall clips. Each one comes with a loop that slips over a pushpin or tiny nail so art stays put without damage. A simple wire grid or taut picture-hanging wire adds more space for postcards and plants, rounding out truly creative wall-hanging ideas.
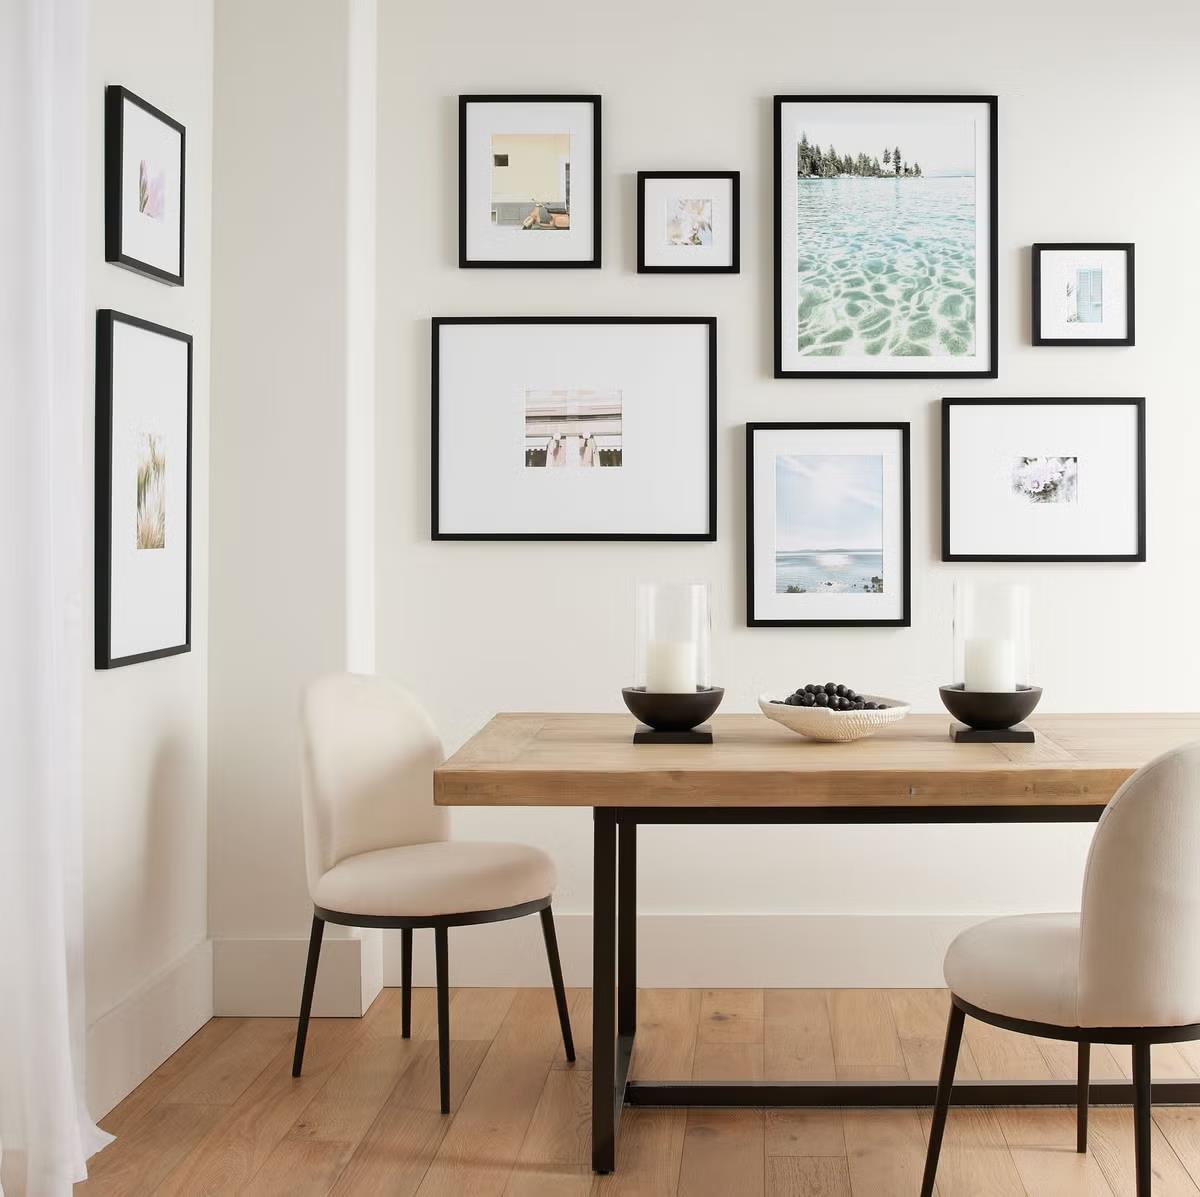
Create a Cohesive Gallery Wall on a Budget
Begin by choosing frames in two or three finishes that echo each other, keeping the gallery wall looking intentional. Map the layout on the floor, then transfer it to the wall with painter’s tape, holding two-inch gaps so every piece gets breathing room. Stick to one theme, maybe all black-and-white prints or vintage travel posters, so the eye moves without distraction.
Anchor the arrangement with a larger center piece at eye level and mirror sizes outward for balance. Swapping thrift-store mats for crisp white cardstock unifies sizes and lets wall photo display ideas shine inside a polished frame wall design.
Personalize with Handmade Frame Décor
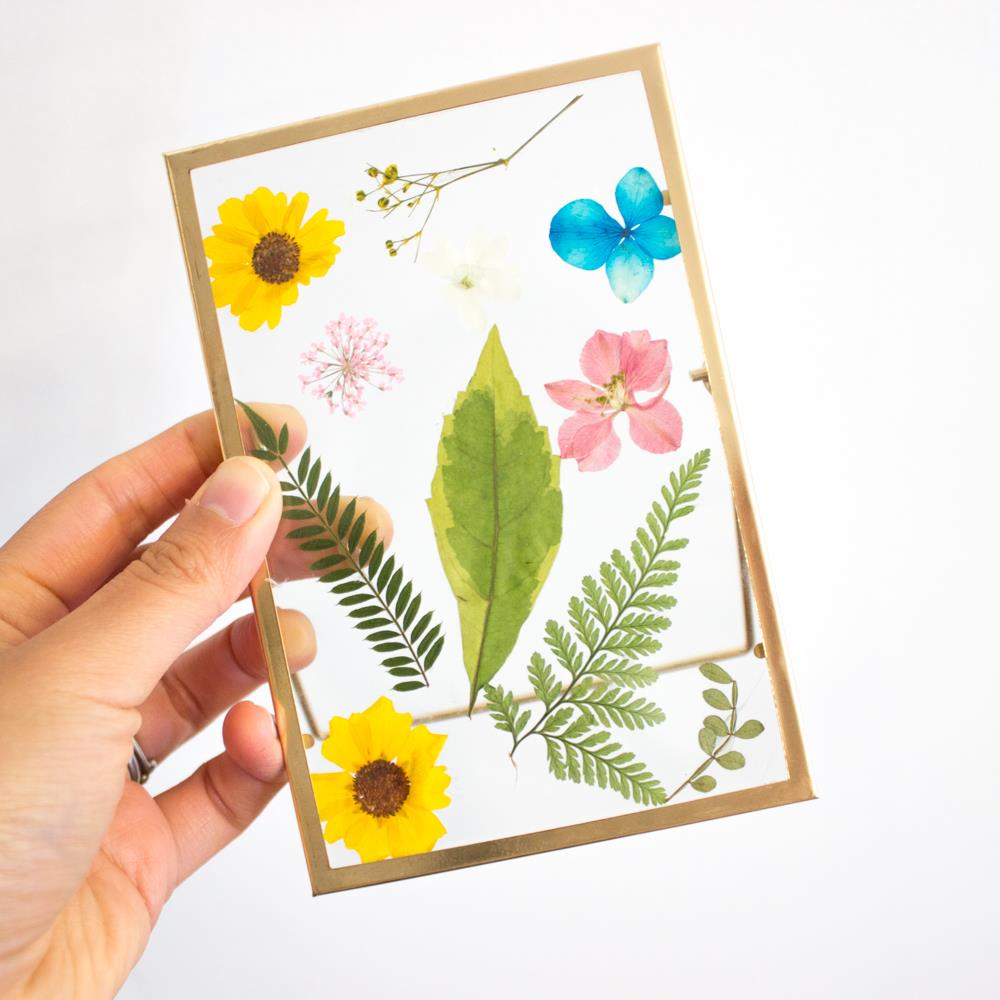
Grab a plain thrift-store frame, lay on painter’s tape, and roll a stencil pattern over it for crisp edges. Wrap another frame with leftover fabric. Decoupage keeps wrinkles smooth, just like in easy fabric-frame tutorials. Slide pressed flowers between glass layers to lock in color that never wilts.
Let kids splatter paint or stick doodles right on the mat for instant gallery energy. These moves turn basic wood into handmade picture frames that double as DIY art frames and transform everyday memories into cherished sentimental wall art.
Where to Source Inexpensive Frame Supplies
Local thrift shops are great places to buy cheap frames, which are easy to refresh with spray paint or wax. For super-quick projects, Dollar Tree’s aisle of wood and acrylic frames powers any DIY without denting the budget. Weekend flea markets and neighborhood garage sales usually bundle frames for pennies.
Haggle for lots, then mix sizes for a gallery wall. Keep these core frame supply tips in mind: inspect corners for tight joints and favor glass that sits flush. Scanning Facebook Marketplace or Craigslist rounds out the hunt and fuels endless low-cost decor hacks with barely any spend.
Final Touches: Hanging and Styling Your Frames
Adhesive strips save walls and wallets: press each strip for 30 seconds and wait an hour for the bond to set, matching the strip’s weight rating to the frame size. That covers how to hang picture frames safely. Lay every frame on the floor, trace outlines onto kraft paper, then tape those templates to the wall until spacing feels balanced.
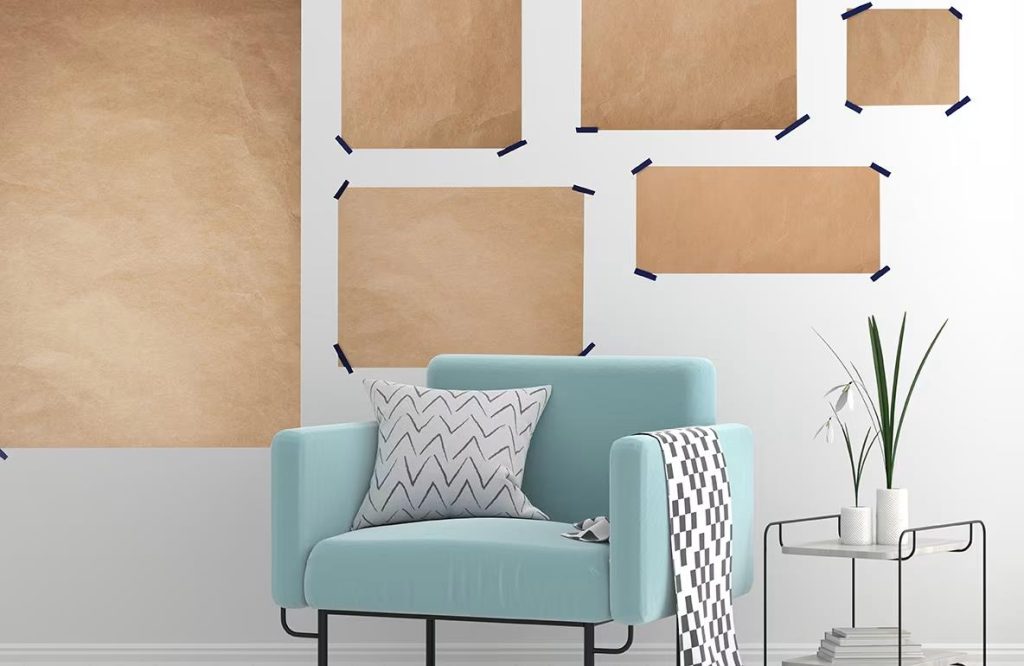
The paper trick locks in a great wall frame arrangement. Swap metals with painted thrift-store wood to add depth, keeping one accent color for cohesion. These quick frame styling tips pull the whole look together and deliver affordable home decor finishing touches.
Conclusion
Fresh paint isn’t the only way to refresh walls. Spare lumber, thrifted finds, and a bit of patience can craft a stylish wall on a budget that looks curated, not cheap. From gilding dollar-store mats to layering fabrics behind glass, each tip doubles as picture frame inspiration and a crash course in creative home design.
Sand here, spray there, let it dry, and suddenly thrift becomes treasure. Testing one or two ideas first keeps costs low while sharpening skills, eventually turning projects into proud conversation pieces of DIY home décor.
Pick a frame trick, hang it up, and share your before and after in the comments below!