Blank walls can feel like missed opportunities, but a sponge, rag, or sea‑sponge roller can turn them into statement pieces in one afternoon. Through affordable texture painting, techniques like knockdown, rag rolling, and stippling add depth that flat paint can’t touch.
These fast DIY wall upgrades hide dings, infuse movement, and give beginners room to play while letting seasoned painters refine signature patterns. The payoff is a space that feels curated, layered color, tactile surfaces, and personality that powers creative home transformations, all while sticking to budget-friendly home decor goals.
Discovering the Exciting World of DIY Texture Painting
Walls don’t need to stay flat and boring as DIY texture painting opens a playground of techniques where rag‑rolling, skip‑trowel swirls, or a pinch of baking soda in leftover paint add instant drama without denting the wallet.
Scroll through Pinterest boards for wall texture inspiration, then let inexpensive brushes and a five‑dollar sea sponge fuel boundless home decor creativity while camouflaging scuffs and boosting resale appeal. Stucco‑style swipes or feather‑light sponging layer dimension that morphs with daylight, proving artistic wall textures outrank plain eggshell finishes every time.
Drag a comb through wet plaster for breezy coastal stripes, glaze metallic highlights over a knockdown pattern, and watch DIY home aesthetics transform a once‑blank room into a personal gallery.
Why DIY Texture Painting is Perfect for Budget-Conscious Decorators
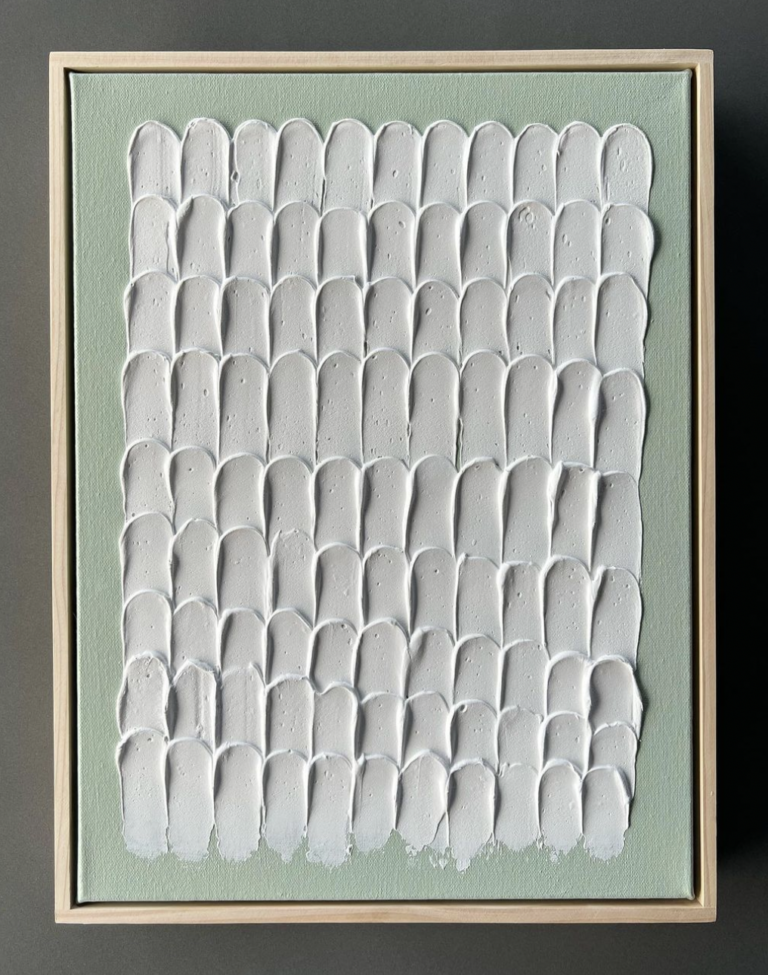
Tight decorating budgets don’t have to shrink imagination since DIY texture painting flips that script by turning blank drywall into custom art for cost-effective home projects and showcasing truly personalized budget decor.
Skipping pro labor slashes expenses, with homeowner cost breakdowns pinning the savings on hourly painter fees and mark‑ups on materials. Better yet, texture brings depth and “visual weight” that plain paint can’t touch, adding character designers praise for making a room feel curated and rich.
Author’s Note: Check out our post on Artistic Bedroom Wall Murals for even more creative ideas & tips to make your walls statement pieces!
Essential Tools and Materials for Budget-Friendly Texture Painting
Craving rich texture on blank walls without stretching the wallet? Start by corralling DIY painting supplies already on hand like joint compound, half‑used paint, and a chunky sponge then get everyday items like an expired credit card or plastic bag to stamp distinctive patterns.
Community reuse depots and neighborhood yard sales overflow with affordable crafting materials such as mis‑tint paint and scrap trim that invite fearless experimenting. Online sellers bundle rollers, brushes, and palette knives into ready‑made budget toolkits that outshine a single specialty brush bought at retail.
Finish strong with sand, baking soda, or sawdust swept up after a friend’s woodworking project which can be used as texture‑boosting additives that keep the cart squarely in economical DIY supplies territory and prove that creativity, not cash, fuels show‑stopping walls.
Preparing Your Wall: The Secret to Professional-Looking Results
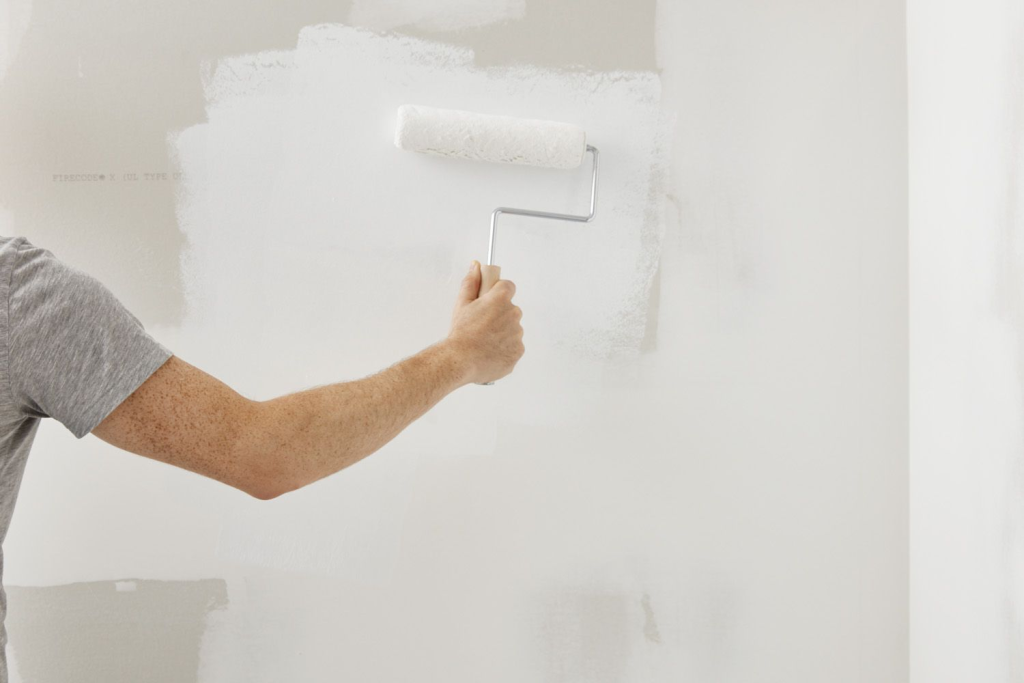
Fresh texture paint stays put only when the wall gets a full spa treatment first: lean on wall preparation tips such as shifting furniture, taping trim, and killing power to outlets so sanding dust can’t spark trouble; patch holes with spackle, skim cracks with joint compound, then glide a fine‑grit sanding block until every bump feels history.
Vacuum thoroughly, wipe with a damp microfiber, and let the surface dry, primer clings only to a squeaky‑clean canvas. Slide into priming walls with a quality, stain‑blocking coat (tinted close to the top color) to seal repairs, level porosity, and give textured mud something gritty to grip.
Step-by-Step Guide: Easy Techniques for Creating Stunning Textured Walls
Texture paint acts like craft clay for walls as it is thick enough to sculpt, forgiving enough to wipe away and redo before it dries.
This easy texture painting guide lays out four rock‑solid DIY painting methods that deliver simple wall textures every time: prep the surface and tape edges, roll on thinned joint compound, shape the pattern with a sponge, sprayer, or knockdown knife, then seal with quality latex paint.
For orange‑peel, keep the sprayer about 18 inches from the wall and use overlapping passes; let it set for 10–15 minutes so the dimples lock in.
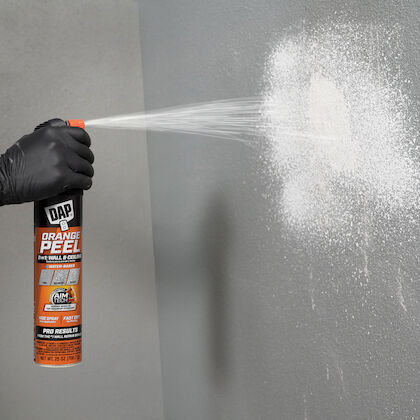
For knockdown, wait until the compound dulls, then glide a 12‑inch drywall knife across at a shallow angle to flatten the peaks so no need to press hard.
Always test mix and pressure on scrap cardboard first; that 30‑second check prevents hours of sanding. Finish by priming, painting, and stepping back to see a faux‑plastered surface that hides dings and looks custom without wrecking the budget.
Creative Techniques: From Sponging to Troweling
Sponges, combs, and a humble trowel can turn flat drywall into art; start with sponging texture methods by dabbing a sea sponge dipped in glaze over a dry base coat, rotating the sponge to keep the pattern random and letting each layer flash‑dry before adding another hue for depth.
For bolder looks, pull a notched comb through wet joint compound in rhythmic lines, then crisscross for herringbone or waves, a few quick tricks that unlock innovative wall patterns without fancy stencils.
Next, load joint compound onto a wide steel blade and skim it across the wall; overlapping passes, light burnishing, and a touch of tint create polished‑stone trowel painting effects reminiscent of Venetian plaster at a fraction of pro costs. Mix and match these creative DIY techniques to layer color, shadow, and personality while sticking to a weekend budget.
Smart Tips and Hacks for Saving Money on Your DIY Project

Running up a bill on fancy texture tools? Turn leftover wall paint into thick, sandy goodness with a spoonful of baking soda, then stamp it on with bubble wrap or a crumpled grocery bag, which is a classic DIY money-saving hacks that cost pennies while adding eye‑catching depth.
Swap pricey texture mediums for a quick cornstarch paste that thickens paint into stucco‑style swirls, just one of many low-cost painting tips shared by hands‑on makers. Need gear? Scoop up mis‑tinted paint and gently used brushes at salvage shops; these frugal crafting ideas keep landfills clear and wallets happy.
Finish strong with sample‑size paint pots for accent designs, a sprinkle of clean sawdust for rustic grit, and walk away with walls that double as eye‑catching, economical home upgrades without busting the budget.
Author’s Note: Check out our post on Affordable Wall Art Ideas on a Budget for even more creative decor inspiration without overspending!
Avoiding Common DIY Texture Painting Mistakes
Uneven ridges, hairline cracks, and dry blotches can spoil a fresh texture coat faster than a runaway roller. Most DIY project pitfalls appear when the compound is mixed too thick, primer gets skipped, or work happens under harsh sun that flash‑dries the surface before it settles, inviting fractures and splotchy color.
Skip those texture painting mistakes by following the manufacturer’s water‑to‑compound ratio, loading the roller evenly, and painting in mild, low‑humidity windows so the mud cures at a steady pace.
Other common painting errors creep in when edges dry before fresh strokes reach them so maintain a wet edge by moving methodically across the wall, feathering seams in small sections.
Wrap it all up with practical painting problem solutions: spread texture in thin passes, let each coat dry completely, and give a light sand between layers to level peaks and lock in an even finish once the final coat rolls on.
Finishing Touches: How to Perfect Your Textured Walls
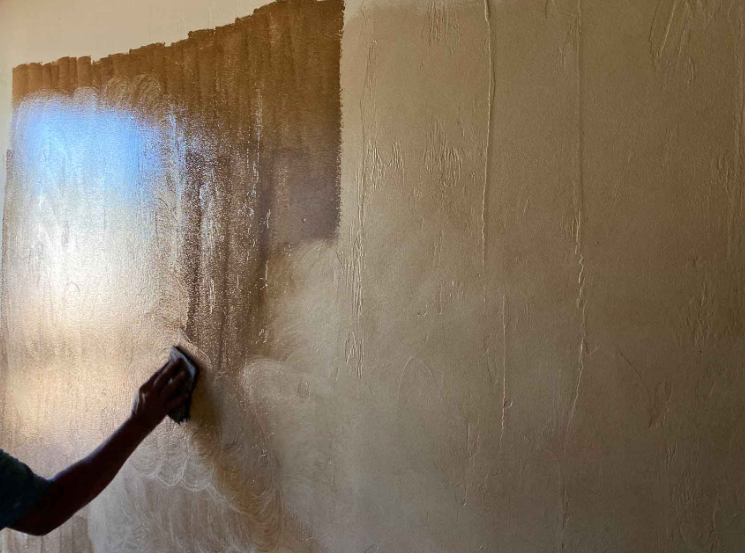
That final layer separates a good DIY wall from one that looks gallery‑ready. For fresh wall finishing ideas, try a translucent glaze: brush it on, then rag‑roll or sponge‑dab so pigment settles in the low spots while the highs catch the light, creating instant depth and contrast.
Fans of subtle drama enjoy dry‑brushing metallic cream across peaks; the faint shimmer feels custom, not flashy. Focus on perfecting DIY textures by keeping a spray bottle nearby; a light mist keeps glaze workable while you blend edges.
Want sharper highlights? Glide a flexible plastic card over raised ridges before the glaze cures. These quick decorative paint techniques take minutes yet read like artisan plaster. Finish by sealing with matte polycrylic, locking color without glare and enhancing painted textures for years.
Eco-Friendly DIY Texture Painting Ideas
Swap toxic fumes for fresh air by choosing clay‑rich zero‑VOC or milk paints, then stir in fine sand for instant texture.
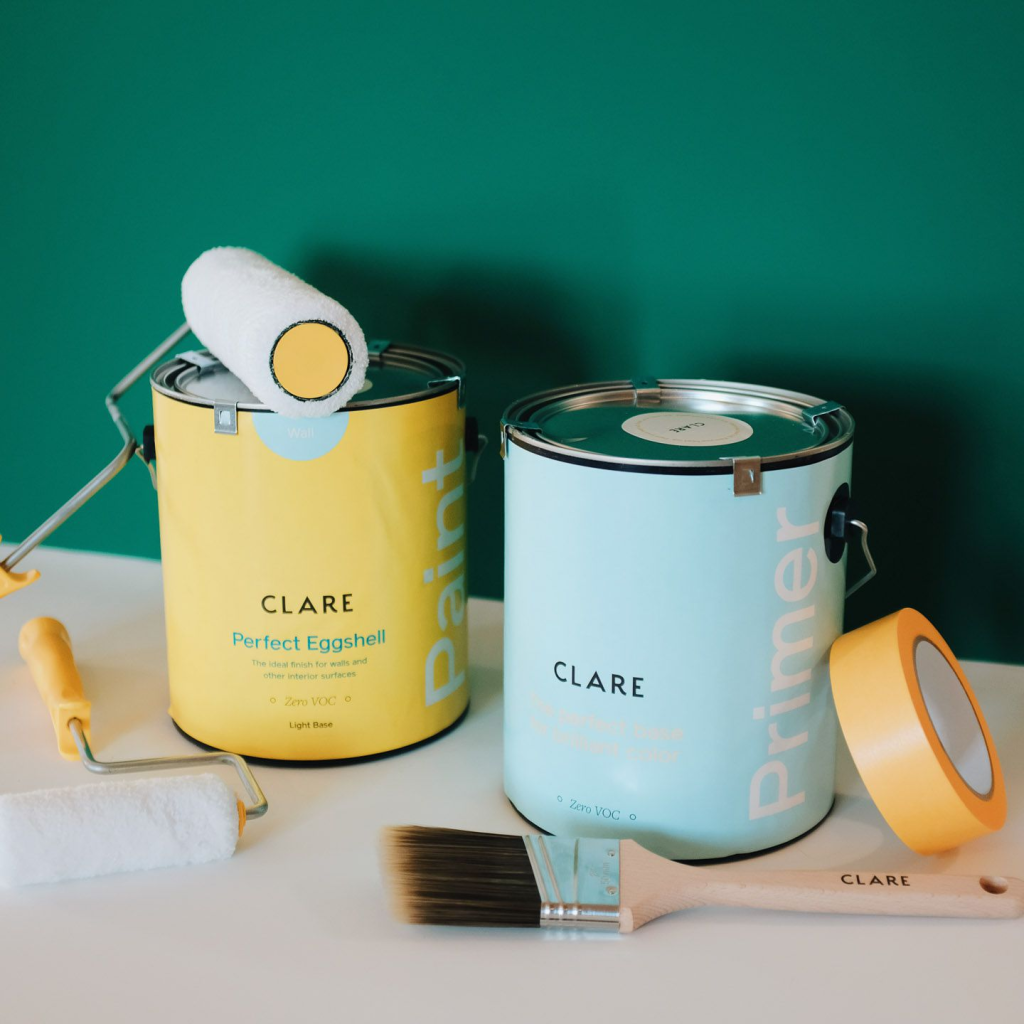
Next, raid the recycle bin: bubble wrap, combs, even an old credit card become recycled painting tools that stamp organic patterns without extra cost.
These tricks build eco-friendly DIY textures, cut landfill waste, and keep indoor air clean, a quick win for green home decor. Finish with plant‑based sealers to lock color, and the walls proudly showcase sustainable painting solutions that respect both wallet and planet.
Maintaining Your DIY Textured Walls: Long-Term Care Tips
Finished that textured accent wall? Keeping it sharp takes just a few quick habits. First up, consistent textured wall maintenance: sweep a microfiber cloth or vacuum brush across the ridges weekly to shoo away dust.
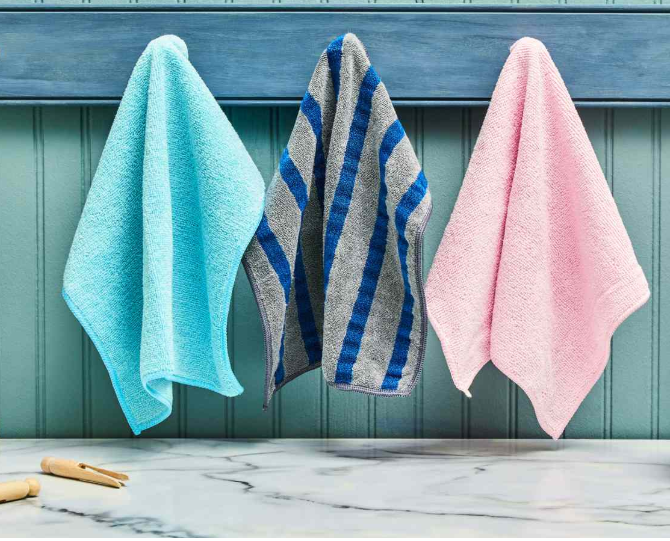
Sticky spots? A soft sponge with mild soapy water erases grime without eroding peaks, fueling long-lasting DIY results. When scuffs happen, reach for leftover paint instead of scrubbing for smarter caring for painted walls.
Conclusion: Embrace Your Inner Artist with Budget-Friendly Texture Painting
Grab that roller, trust the vision, and step back with confident DIY decorating pride.
Simple texture tricks unlock affordable wall transformations that look custom, not costly.
Every swirl, stipple, and sponge stroke fuels DIY home creativity that can’t be bought off‑the‑shelf. Let paint, paste, and a little patience spark artistic budget decor that keeps folks talking about your walls. Be sure to tell us all about it in the comment section below!


1 thought on “Create Stunning Walls: DIY Texture Painting Projects Without Breaking the Bank”